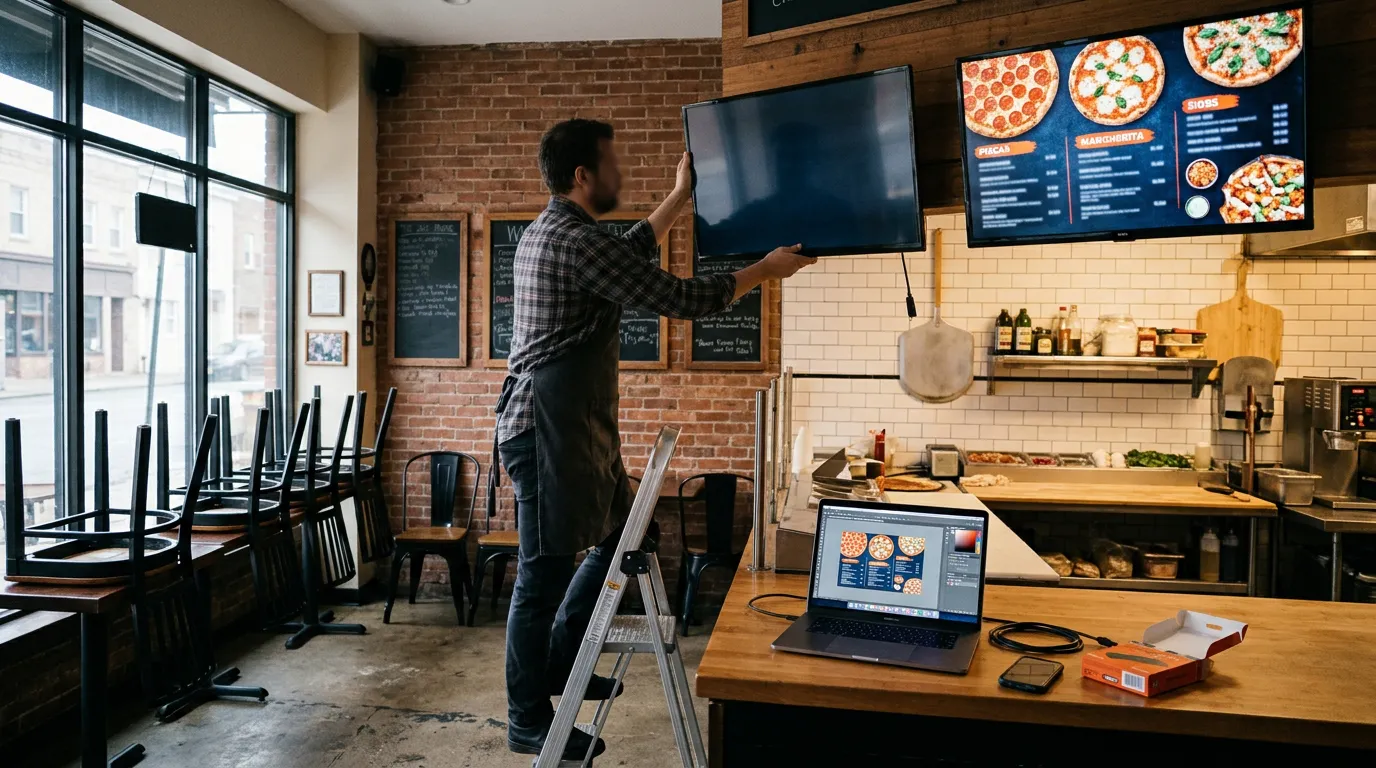
How to Create a Digital Menu Board in 5 Steps
Printed menu boards look great on day one. Then a price changes, an item sells out, or you add a new special, and suddenly the board is out of date.
A digital menu board fixes that. Your menu lives on a TV, and you can update it whenever you need to without printing anything.
The good news is that you don't need a big budget or technical skills to set one up. If you have a TV, an internet connection, and a menu design, you're most of the way there.
Here's how to create a digital menu board in five simple steps.
What You'll Need
Before you start, make sure you have:
A TV. Most modern TVs work. A 43" to 55" screen suits most counters.
A way to run the Billiie app. A Fire TV Stick, a TV with Fire TV or Google TV built in, or a device with a web browser.
Wi-Fi where the TV will be mounted.
Your menu design, saved as an image or video.
A Billiie account. Your first screen is free.
Not sure if your TV will work? Our guide to choosing the right TV or display for Billiie covers compatible brands and connection options.
Step 1: Plan What Each Screen Will Show
Start with the menu, not the TV.
Write down everything you want customers to see: categories, items, prices, and any specials. Then decide how many screens you need.
A small café might fit its whole menu on one screen. A deli with breakfast, sandwiches, salads, and drinks might use three or four screens, one per category.
A good rule: if your menu feels crowded on one screen, split it. Customers should be able to read the menu from where they stand, not walk up to the TV to find a price.
Also decide what changes during the day. If you serve breakfast until 11 AM, plan a breakfast design and a lunch design. You'll schedule them in Step 5.
Step 2: Design Your Menu
Next, create the menu design itself.
You can use a free design tool like Canva, other design software, or hire a designer. Billiie displays your finished images and videos; it doesn't design them for you, so you have complete control over how your menu looks.
Use the Right Size
Design at the same shape as your TV:
Landscape (horizontal) screens:
1920 × 1080pixelsPortrait (vertical) screens:
1080 × 1920pixels
Designing at the right size keeps your menu from being stretched or cropped.
Make It Easy to Read
Digital menu board design is different from a printed flyer. People read it from several feet away, often while standing in line.
Use large, bold text for item names and prices.
Keep descriptions short or leave them out.
Group items into clear categories.
Use strong contrast, such as white text on a dark background.
Leave space between items so the menu doesn't feel cramped.
For color ideas, see our guide to the best colors for digital signage.
Add a QR Code for Ordering
If you want customers to order from their phones, add a QR code to a corner of the design. With Billiie Digital Menu Ordering, customers scan, customize their order with toppings and extras, and send it straight to your counter, with no app to download.
Step 3: Set Up Your TV
Now get the TV ready.
Mount it where customers naturally look: above the counter, near the line, or by the entrance. Keep it high enough to see over people's heads, but not so high that customers strain to read it.
Then install the Billiie app. There are a few ways to do it:
Fire TV Stick: Plug it into your TV's HDMI port, connect to Wi-Fi, and install Billiie from the app store. This is the easiest option for most regular TVs.
Fire TV or Google TV built in: If your TV already runs Fire TV or Google TV, install Billiie directly from its app store. No extra device needed.
Web browser: Billiie can also run in a compatible web browser on a TV, computer, or mini PC in full-screen mode.
Check Your TV's Power Settings
Many TVs turn off on their own, start a screensaver, or ask "Are you still watching?" after a while. These settings are designed for home use and can interrupt your menu during business hours. Turn off sleep timers and power-saving features, and see our guide to keeping your Billiie TV running if your screen keeps going dark.
Step 4: Pair Your Screen and Upload Your Menu
Once the Billiie app is open on your TV, it will show a screen code.
In your Billiie dashboard, go to My Screens → Add Screen and enter or confirm that code. Your TV is now connected to your account, and you can manage it from your phone or computer.
Next, upload your menu design and choose which screen should show it. If you have several screens, assign each design to the right one, such as the breakfast menu to Screen 1 and the sandwich menu to Screen 2.
Billiie supports full-screen and split-screen layouts, in landscape or portrait, so you can show one large menu or a menu alongside a promotion.
Step 5: Schedule and Update Your Menu
This is where a digital menu board really pays off.
Schedule by time of day. Show your breakfast menu in the morning and your lunch menu later, automatically.
Set end dates for specials. A limited-time offer can stop showing on the date it ends, so you never have an expired promotion on the screen.
Update anytime. When a price changes, edit your design, upload the new version, and it replaces the old one on your screen. You don't need to be in the store to do it.
Make it a habit to check your menu boards once a week. Remove anything that's sold out or outdated, and make sure every price is correct.
Common Digital Menu Board Mistakes
Too much on one screen. If the text is tiny, split the menu across more screens.
Low contrast. Light text on a light background is hard to read from a distance.
Wrong image size. A landscape design on a portrait screen will look stretched or cropped.
Forgetting the power settings. A menu board that switches itself off isn't doing its job.
Never updating it. A digital menu is only better than paper if you keep it current.
How Much Does a Digital Menu Board Cost?
With Billiie Digital Signage, your first screen is free, forever. Each additional screen is $1 per month, so a four-screen menu board costs $3 per month in software.
Beyond that, you'll need the TV, a mount, and a Fire TV Stick or compatible device if your TV doesn't already support the app. Many businesses already own a TV they can use.
Ready to Create Your Digital Menu Board?
Creating a digital menu board comes down to five steps: plan your screens, design your menu, set up your TV, pair and upload, then schedule and update.
Once it's running, changing a price takes minutes instead of a trip to the printer.
Want to learn more first? Read what a digital menu is and see how restaurants use digital signage.
Create your Billiie account and set up your first menu board today. Your first screen is free.
Ready to bring Billiie to your business?
Manage your screens, content, and locations from one simple dashboard.
No commercial signage hardware neededPowered by Billiie