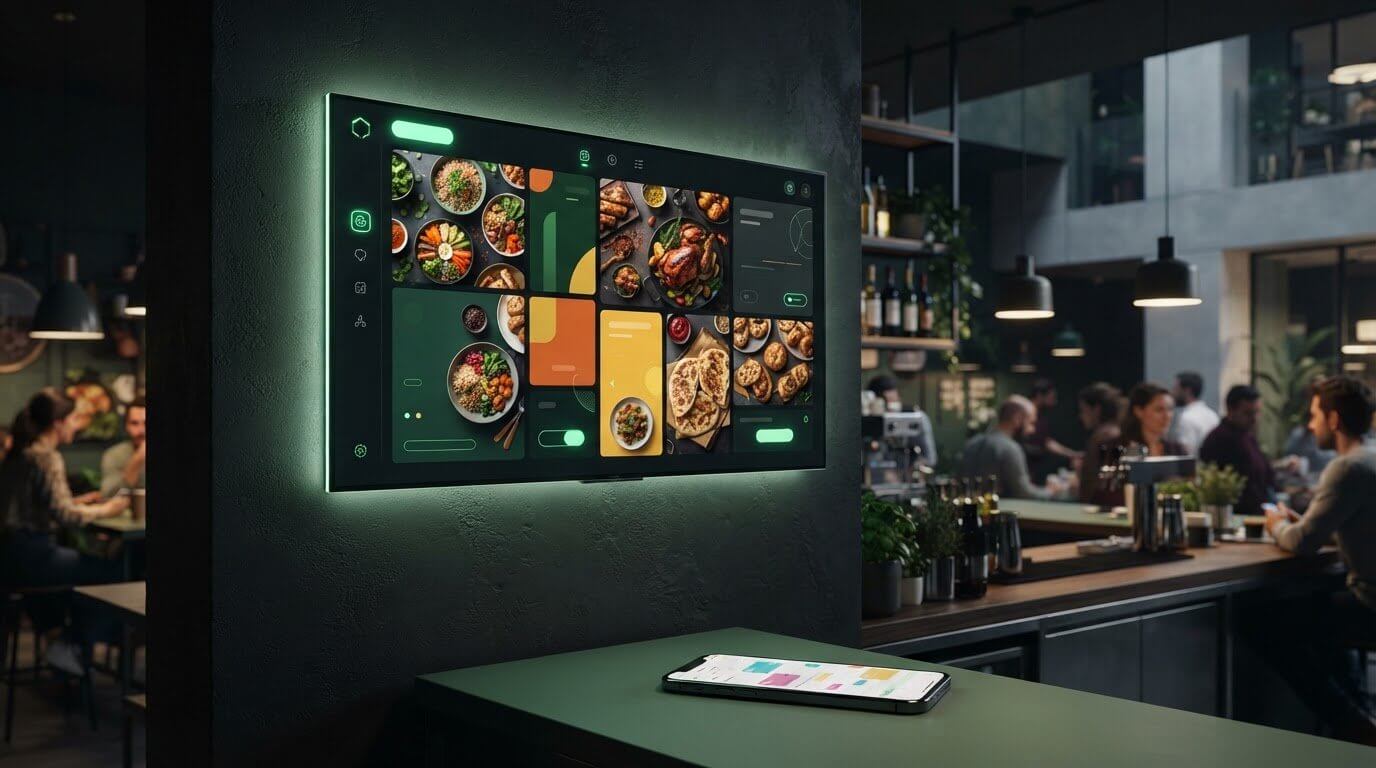
How to Turn a Smart TV into a Digital Menu Board (2026 Guide)
The TV already hanging in your business could be your next digital menu board. With Billiie, you can turn a smart TV into a digital menu board using a compatible Fire TV or Android TV device, starting at just $1 a screen.
If you’re tired of replacing printed menus or swapping USB sticks whenever a special changes, Billiie gives you a simpler way to manage what customers see. Upload your finished menu images or videos, build a playlist, and schedule it from one dashboard. You can manage more screens as your business grows for $1 per month each.
This guide walks you through installing Billiie, pairing your TV, uploading content, and getting your menu on screen.
Why Your TV Can Make a Great Digital Menu Board
You may already have the main piece of equipment you need. With Billiie on a compatible Fire TV or Android TV device, you can turn a smart TV into a digital menu board without buying a specialized signage player. Display finished menu images and videos on the screen, then manage them from your Billiie dashboard.
Using a TV you already own can keep setup costs low. Billiie starts at $1 per month per screen, with each additional screen costing $1 per month. That makes it practical to start with one menu board and add screens for drinks, specials, or other areas when you need them.
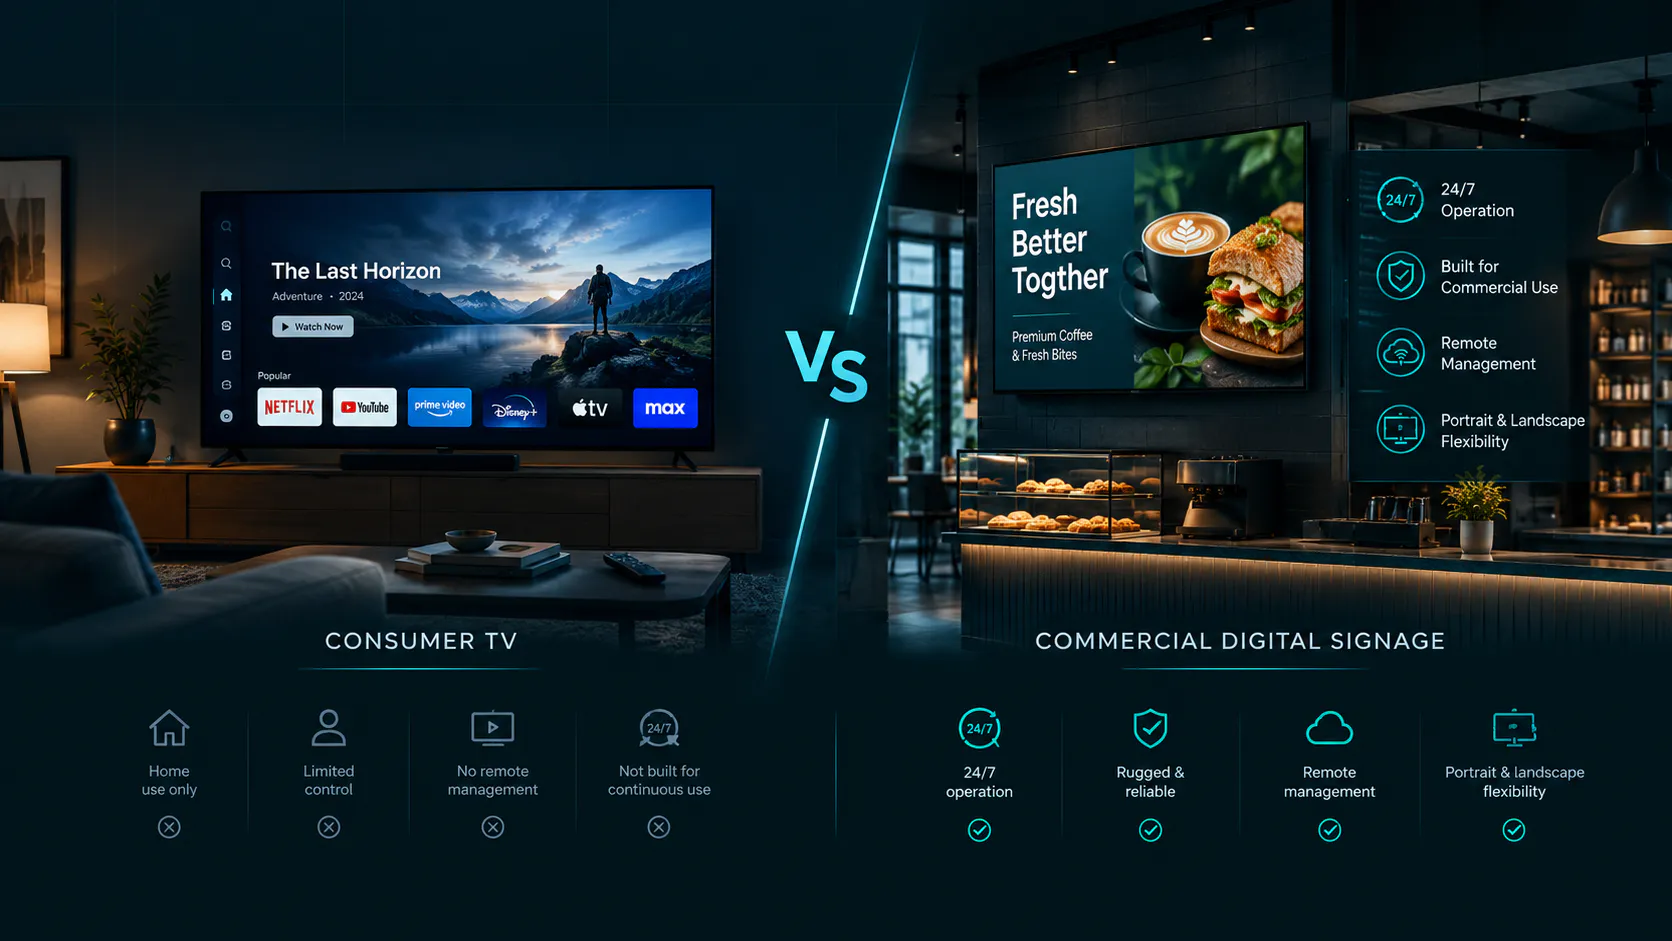
Consumer TVs vs. Commercial Displays
A consumer TV can be a good fit for an indoor menu board, especially when customers can read it clearly from where they order. Think about screen size, viewing distance, glare, and how long the TV will run each day. A commercial display may be a better fit for a bright storefront window or extended daily use, so choose the screen that suits its location.
How Billiie Gets Your Menu on Screen
Install the Billiie app on a compatible Fire TV or Android TV device and pair it with your account. Then upload your finished menu images or videos, create a playlist, and schedule what plays. When your menu changes, update the image or video and upload the new file through Billiie. There’s no need to carry a USB stick to the TV.
Choosing the Right Software and TV Setup
You don’t need to buy a dedicated signage player to get started with Billiie. Install the app on a compatible Fire TV or Android TV device, pair your screen, and manage it from your account. If you already have a suitable TV, a Fire TV Stick may be all you need to add.
Start with one screen and add more as your business grows. Billiie lets you organize your screens, upload finished images and videos, and control their playlists from one dashboard. It’s a practical way to turn a smart TV into a digital menu board without building a complicated setup.
Leave the USB Stick Behind
A USB stick means returning to each TV whenever you have a new menu image or promotion. With Billiie, you can upload the new, finished file from your dashboard and assign it to the right screen. Your staff can also be assigned screens to manage, so updates don’t have to fall on one person.
Schedule Menus Around Your Day
Billiie lets you create playlists and schedule when they appear. A restaurant could show a breakfast menu in the morning and a lunch menu later in the day. Prepare and upload each menu image or video, set its schedule, and let Billiie play the right content at the right time.
4 Simple Steps to Set Up Your Digital Menu Board
Once you’ve created your Billiie account, the next step is getting your menu onto a screen. You don’t need a dedicated signage player or a USB stick. With a compatible Fire TV or Android TV device, you can turn a smart TV into a digital menu board and manage what it displays from your Billiie dashboard.
Here’s how to get started:
Install Billiie on your TV. Connect your Fire TV or Android TV device to a stable Wi-Fi network and download the Billiie app. If your TV doesn’t have a compatible operating system, a Fire TV Stick may let you use the TV you already own.
Pair your screen with your account. Open Billiie on the TV to see its pairing code. Enter that code in your Billiie dashboard to link the screen to your account. If you plan to use several TVs, give each screen a clear name, such as “Counter Menu” or “Drinks Menu,” so you know which one you’re managing.
Upload your finished menu content. Add the menu images or videos you want customers to see, then organize them into a playlist. You could use one playlist for your main menu and another for specials. Billiie displays the files you upload, so make any changes to menu items, prices, or design in your original file before uploading the new version.
Set your schedule and go live. Choose which playlist appears on the screen and when it plays. For example, you might schedule breakfast content for the morning and switch to your lunch menu later in the day. Once everything is set, check the TV from a customer’s viewing distance to make sure the text is easy to read.
Preparing Your Hardware for Success
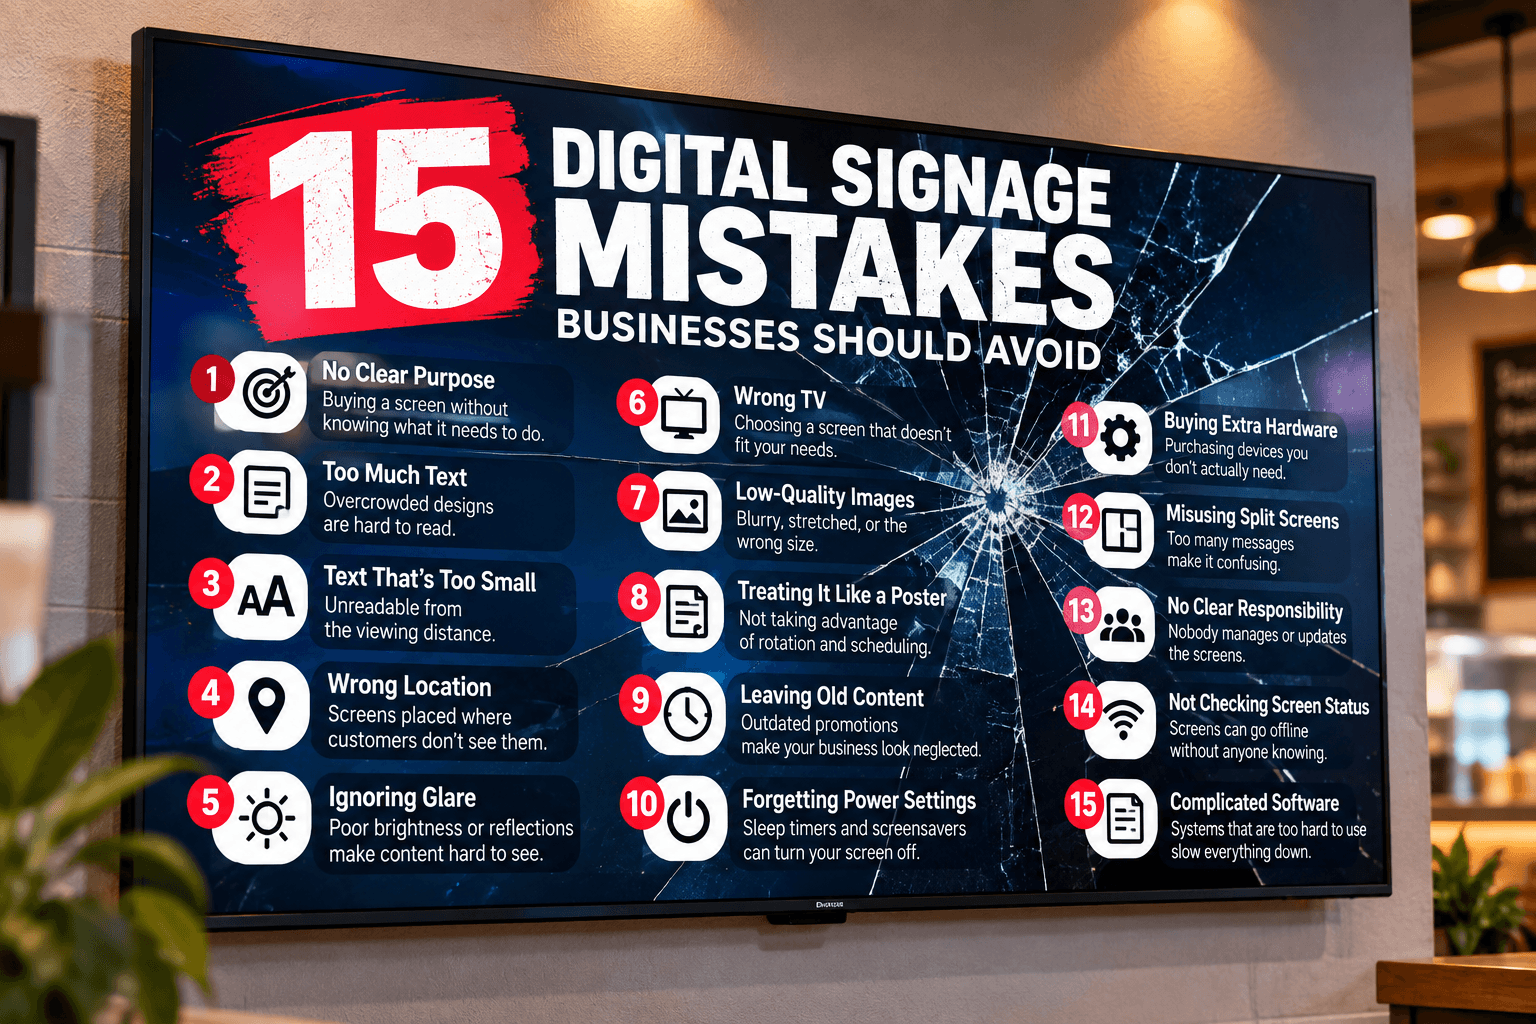
Where you put the TV matters as much as what you show on it. Place it where customers naturally look while ordering, and check for glare at different times of day. Use large text and clear images so people can read the menu without walking up to the screen.
Before relying on the TV during business hours, review its sleep timer, screensaver, and automatic power-saving settings. Some devices may dim or turn off after a period of inactivity. Set them to suit your operating hours, then confirm that Billiie is displaying your playlist as expected. Keep the device connected to reliable Wi-Fi so new uploads and schedule changes can reach it.
Managing Your First Screen and Beyond
After pairing, you can manage the screen from your Billiie dashboard instead of carrying files to the TV. Upload a replacement menu when your offerings change, update its playlist, or adjust when content appears. You can also add more screens for drinks, promotions, or a separate ordering area and manage them from the same account.
If different staff members look after different parts of the business, Billiie lets you assign screens to team members. That way, the person responsible for the drinks menu can manage that screen while someone else handles the main menu. Start with one display, make sure it looks right in your space, and expand when you’re ready.
Designing a Menu Board That Actually Drives Sales
Your menu board does more than list items and prices. It helps customers decide what to order while they’re standing in line or looking toward the counter. Once you turn a smart TV into a digital menu board, you have room to show food photography, feature specials, and make your most popular items easy to find.
Start with readability. A menu that looks sharp on your laptop may be difficult to read from 20 feet away. Use large, bold type, strong contrast, and short descriptions. Give prices a consistent position so customers can scan the screen quickly. Before publishing your design, put it on the TV and view it from the same place your customers will stand.
A crowded screen makes every item harder to notice. If your menu has many choices, consider splitting it across screens or slides. One screen might show sandwiches and wraps while another shows drinks and sides. Give your best-selling items enough space for a clear name, price, and photo. With Billiie, you can upload those finished menu images or videos and organize them into playlists for the appropriate screens.
Make Your Best Items Easy to Spot
Think about what customers need to see first. Put your most popular items, combos, or current specials in a prominent area, then group the rest of the menu into familiar categories. A customer should be able to find “Breakfast,” “Burgers,” or “Fresh Juices” without reading every line on the screen.
Food photography can help, but use it selectively. A few well-lit images of the actual food you serve will usually communicate more clearly than a screen filled with small pictures. Keep the item name and price close to its photo, and leave enough open space around each section. The goal is to help customers make a choice, not make them search for basic information.
Design with your TV’s shape in mind, too. A landscape screen above a counter may work well with two or three columns. A vertical screen near an entrance may be better for one featured item or a short list of specials. Prepare each layout in your preferred design tool, then upload the finished file to Billiie.
Show the Right Menu at the Right Time
When you turn a smart TV into a digital menu board with Billiie, you can schedule different playlists for different parts of the day. Show breakfast items in the morning, lunch options in the afternoon, and dinner specials later. Your team won’t need to swap a USB stick or change the display manually each time the menu switches.
You can also prepare short videos or animated menu files if movement suits your space. Keep motion subtle enough that customers can still read item names and prices. If you want to include a QR code, add it to your finished design and test it from the distance where customers will scan it.
Billiie handles displaying and scheduling the content you upload. When an item, price, or design changes, update your original menu file and upload the finished replacement. That gives you control over what appears on each screen while keeping the menu clear and current.
Designing a Menu Board That Actually Drives Sales
Your menu is more than a list of items and prices. It helps customers decide what to order while they’re standing at your counter. If you’re looking to turn smart tv into digital menu board, start with a design that makes your food easy to see and your menu easy to read.
Use large text, strong contrast, and short descriptions. Check the finished menu on the TV from where customers actually stand. A price that looks clear on your laptop may be too small to read from the back of the line.
Give your best-selling items room to stand out. Choose a few dishes to feature with appealing photos, then group the rest into clear categories. If you have too many items for one screen, split them across multiple slides or TVs rather than shrinking the text.
AI can help you create the finished menu image or video. Use an AI tool to explore layouts or visuals, then carefully check the food, item names, and prices before publishing. When the file is ready, upload it to Billiie to display on your TV. Billiie manages the screens and schedules; menu design and price changes are made in your original file before you upload it.
The Psychology of Digital Menu Layouts
Customers should be able to find what they want quickly. Put popular items, combos, and specials in prominent places, and keep related choices together. Use headings such as “Breakfast,” “Burgers,” and “Drinks” to help people scan the screen.
Keep prices in a consistent position and avoid filling every open space. A clear item name, photo, and price often do more than a long description. The layout should fit the screen, too: a landscape TV above the counter can show several categories, while a vertical screen near the entrance may be better for one featured special.
Dynamic Content: Beyond Static Images
When you turn smart tv into digital menu board displays with Billiie, you can show different finished designs throughout the day. Upload separate breakfast, lunch, and dinner menu files, organize them into playlists, and schedule when each playlist appears.
You can also upload a finished promotional video. If you include motion, make sure customers have enough time to read the item name and price. If your design includes a QR code, test it on the TV from the distance where customers will scan it.
Elevate Your Space with Billiie Digital Menu Software
Billiie helps you put finished menu images and videos on compatible Fire TV and Android TV devices. From one dashboard, you can upload content, create playlists, schedule what plays, and manage multiple screens. You can also label screens and assign them to team members.
Start with one menu board above your counter, then add a drinks screen, specials display, or another location as needed. Billiie costs $1 per month per screen.
If your business also uses Billiie’s QR catalog, keep both products accurate when something changes. A new menu image on your TV does not automatically change the catalog on customers’ phones.
The Billiie Difference: Simple Screen Management
Billiie focuses on getting your finished content onto the right screens at the right times. Install the app on a compatible TV device, pair the screen with your account, upload your files, and set a playlist and schedule.
When a menu item or price changes, revise the original design using your preferred tool—including an AI tool if you choose—then upload the finished replacement to Billiie. There’s no need to visit each TV with a USB stick.
Ready to Transform Your TV?
Prepare a readable menu image, connect your first compatible screen, and see how it looks from your customers’ point of view. Once it’s working for your business, you can add more playlists and screens.
Ready to turn smart tv into digital menu board displays? Get started with Billiie.
Ready to Light Up Your Storefront?
Your journey from a static menu to a high-energy digital display is finally complete. You've learned that you don't need a massive IT budget or bulky hardware to look like a pro. By choosing the right cloud-based tools and focusing on clean, high-contrast design, you're setting your business up for immediate growth. It's time to put those plans into action and see the results for yourself.
The ability to turn smart tv into digital menu board changes the way you interact with your customers. You can now update prices instantly, schedule meal specials, and sync everything with interactive QR catalogs without ever touching a USB stick. There's no extra hardware required and no technical friction to slow you down. Everything you need is already within reach. Take that final step today and watch your space transform into a modern, welcoming environment. Your customers will love the new look, and you'll love how easy it is to manage.
Frequently Asked Questions
Do I need a special TV to create a digital menu board?
No, you don't need a specialized commercial display for your business. Most standard Smart TVs from 2026 work perfectly because they have built-in web browsers and Wi-Fi. You can turn smart tv into digital menu board using the hardware you already own. Focus on screens with high-definition resolution to make your food photos pop. Just ensure your TV is connected to the internet to receive cloud-based updates instantly.
Can I use a regular TV for 12 hours a day without breaking it?
Yes, modern consumer Smart TVs are built to handle long run times, though commercial displays are rated for longer. For a typical business day, a standard TV is a reliable and cost-effective choice. To keep it healthy, turn off energy-saving modes that dim the screen and disable sleep timers. This ensures your menu stays bright and visible from the moment you open until your last customer leaves for the night.
How do I update my menu if I am not at the restaurant?
You can manage your displays from anywhere in the world using a cloud-based dashboard. Since the software lives in the cloud, you just log in from your laptop or phone to change a price or add a new special. The updates sync to your screens in real-time. This remote control feature is a massive time-saver for busy owners who can't always be on-site to handle manual changes.
Do I need a separate media player like a Firestick or Apple TV?
You often don't need extra hardware if your Smart TV has a modern web browser or a compatible app store. Software-only solutions run directly on the TV's internal system. This keeps your setup clean and removes another potential point of failure. While players like a Firestick are an option for older screens, most newer models allow you to turn smart tv into digital menu board without any extra plugs or cables.
Can I display different menus for breakfast and dinner automatically?
Absolutely, and it's one of the best ways to boost sales. You can use a feature called dayparting to schedule specific menus for different times of the day. Set your breakfast menu to vanish at 11:00 AM and have your lunch specials appear instantly. This automation means your staff never has to worry about changing the display manually, allowing them to focus entirely on serving your guests during the rush.
What is the best file format for a digital menu board?
High-quality JPEG or PNG files work best for static images, but web-based content is even better. Using a cloud platform allows you to display dynamic content that looks sharp at any resolution. If you are using photos, ensure they are high-resolution to avoid blurriness on large screens. Avoid using PDF files, as they often don't scale well or look as professional as a dedicated digital signage layout.
Is it possible to show a QR code on my TV menu board?
Yes, displaying a QR code is a fantastic way to connect with your customers. You can place a code in the corner of your screen so guests can scan it and take your menu with them on their phones. This interactive approach bridges the gap between your physical space and their digital devices. It's a low-friction way to encourage browsing and makes the ordering process much smoother for everyone.
How much does digital menu board software usually cost?
Pricing typically follows a tiered subscription model based on how many screens you need to manage. Most providers offer flexible pricing plans that allow you to scale your costs as your business grows. This software-first approach is much more affordable than buying expensive, proprietary hardware systems. You get the benefit of constant updates and remote management without a massive upfront investment, making it accessible for local shops and large franchises alike.
Ready to bring Billiie to your business?
Manage your screens, content, and locations from one simple dashboard.
No commercial signage hardware neededPowered by Billiie